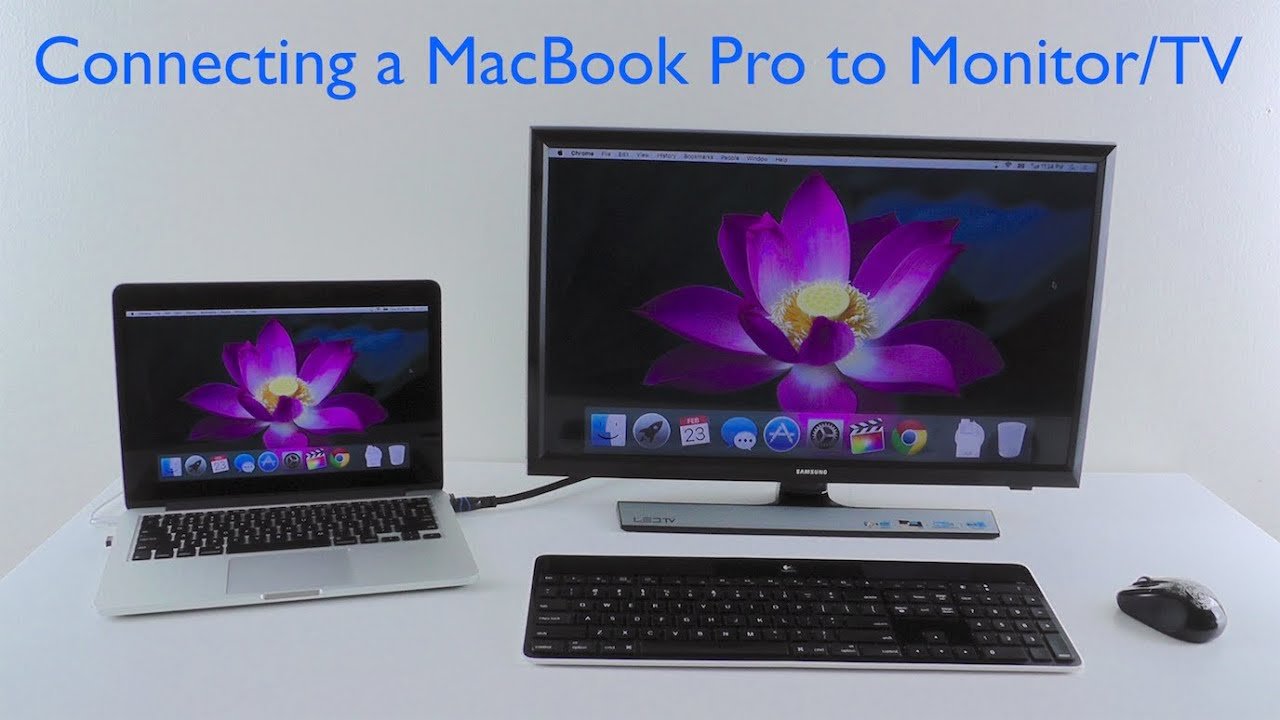
You cannot use your MacBook as a monitor directly. MacBooks do not support video input for this purpose.
Using a MacBook as a monitor might seem convenient. This is especially true if you have a secondary device that needs an extra screen. Unfortunately, MacBooks lack the necessary hardware to accept video input. You would need third-party software or hardware solutions to achieve this.
One option is using apps like Duet Display or Air Display. These apps allow you to extend your screen via Wi-Fi or a USB connection. This method can help you achieve a dual-monitor setup. While not ideal for everyone, it’s a viable workaround. Always ensure your primary device supports the required software. This setup can enhance productivity, especially for multitaskers.

Credit: www.macworld.com
Compatibility
Understanding the compatibility of using your MacBook as a monitor is crucial. It ensures a seamless experience. Not all setups are compatible. This section will guide you through the necessary hardware and software requirements.
Required Hardware
To use your MacBook as a monitor, you need specific hardware. Here is a list of essential items:
- MacBook with a Retina display
- External device like a PC or another Mac
- HDMI or Thunderbolt cable for connection
- Adapter if your devices have different ports
Make sure your MacBook has the right ports. Check the other device’s compatibility with the cables.
Software Considerations
The software setup is just as important. You need the right software to use your MacBook as a monitor. Here are some key software considerations:
- Ensure your MacBook is running macOS 10.15 Catalina or later.
- Install third-party apps like Luna Display or Duet Display.
- Both devices should have the software installed.
- Check for software updates on both devices.
These steps help ensure smooth connectivity. Keeping your software updated is crucial for compatibility.
Using your MacBook as a monitor can be incredibly convenient. Ensure you have the right hardware and software. This ensures a smooth and efficient setup.
Credit: www.reddit.com
Setting Up
Using your MacBook as a monitor can be incredibly useful. This guide will help you set up your MacBook as a monitor in a few simple steps. Follow these instructions to make the most of your MacBook’s display.
Connecting Devices
First, you need to connect your devices. Use the appropriate cables to link your MacBook to the other device. Here are the common types of connections:
- Thunderbolt: For newer MacBooks and devices.
- HDMI: Common for many monitors and laptops.
- USB-C: Modern and versatile connection type.
Ensure both devices are powered on. Insert the cable into the correct ports. Wait a few seconds for the devices to recognize each other.
Configuring Display Settings
Once connected, you need to configure the display settings. Follow these steps:
- Open the System Preferences on your MacBook.
- Click on Displays.
- Select the Arrangement tab.
- Drag the display icons to arrange them as desired.
You can also choose to mirror your display. This will show the same content on both screens. To do this, check the Mirror Displays box.
If needed, adjust the resolution and brightness settings. This ensures the display is clear and easy to read.
| Setting | Action |
|---|---|
| Resolution | Adjust as needed for clarity. |
| Brightness | Slide to make the screen brighter or dimmer. |
These steps will help you set up your MacBook as a monitor. Enjoy the extra screen space and improved workflow.
Using Third-party Apps
Using third-party apps can turn your MacBook into a second monitor. These apps provide a seamless experience. They extend your desktop space. This method is popular due to its simplicity. Let’s explore some popular apps and how to set them up.
Popular Apps
Several apps can help you use your MacBook as a monitor. Here are some of the most popular ones:
- Luna Display: Known for its smooth performance and ease of use.
- Duet Display: Offers both wired and wireless connections.
- Air Display: Provides versatile compatibility and features.
Installation And Setup
Setting up these apps is simple. Follow these steps for each app:
| App | Installation Steps | Setup Instructions |
|---|---|---|
| Luna Display |
|
|
| Duet Display |
|
|
| Air Display |
|
|
These steps make it easy to use your MacBook as a monitor. Choose the app that best suits your needs. Enjoy the extended screen space!
Troubleshooting
Using your MacBook as a monitor can sometimes be tricky. Knowing how to troubleshoot common issues can save time and frustration. Below are some frequent problems and their solutions.
Common Issues
- No Signal Detected: Your MacBook does not recognize the device.
- Flickering Screen: The display flickers or shows lines.
- Low Resolution: The display appears blurry or pixelated.
- Audio Problems: No sound comes from the connected device.
Solutions
Follow these steps to solve common issues:
| Issue | Solution |
|---|---|
| No Signal Detected |
|
| Flickering Screen |
|
| Low Resolution |
|
| Audio Problems |
|
Credit: www.reddit.com
Frequently Asked Questions
Can I Use My Macbook As A Second Monitor?
Yes, you can use your MacBook as a second monitor with apps like Duet Display or Air Display.
How To Connect Macbook As A Monitor?
You need a third-party app like Luna Display or Duet Display. Follow the app’s instructions for setup.
Is It Possible To Use Macbook As A Monitor?
Yes, it is possible using specific software that allows screen sharing or extending.
Which Apps Allow Macbook As A Monitor?
Popular apps include Duet Display, Air Display, and Luna Display. These apps facilitate using your MacBook as a monitor.
Can I Use My Macbook As A Display?
Yes, by using screen-sharing apps like Duet Display, you can use your MacBook as a display for another device.
Conclusion
Using your MacBook as a monitor can be a practical solution. It enhances productivity and utilizes existing hardware. With the right tools and settings, it’s achievable. Explore available options and software to make the most of your MacBook. Enjoy a seamless and efficient multi-monitor setup for your workflow.