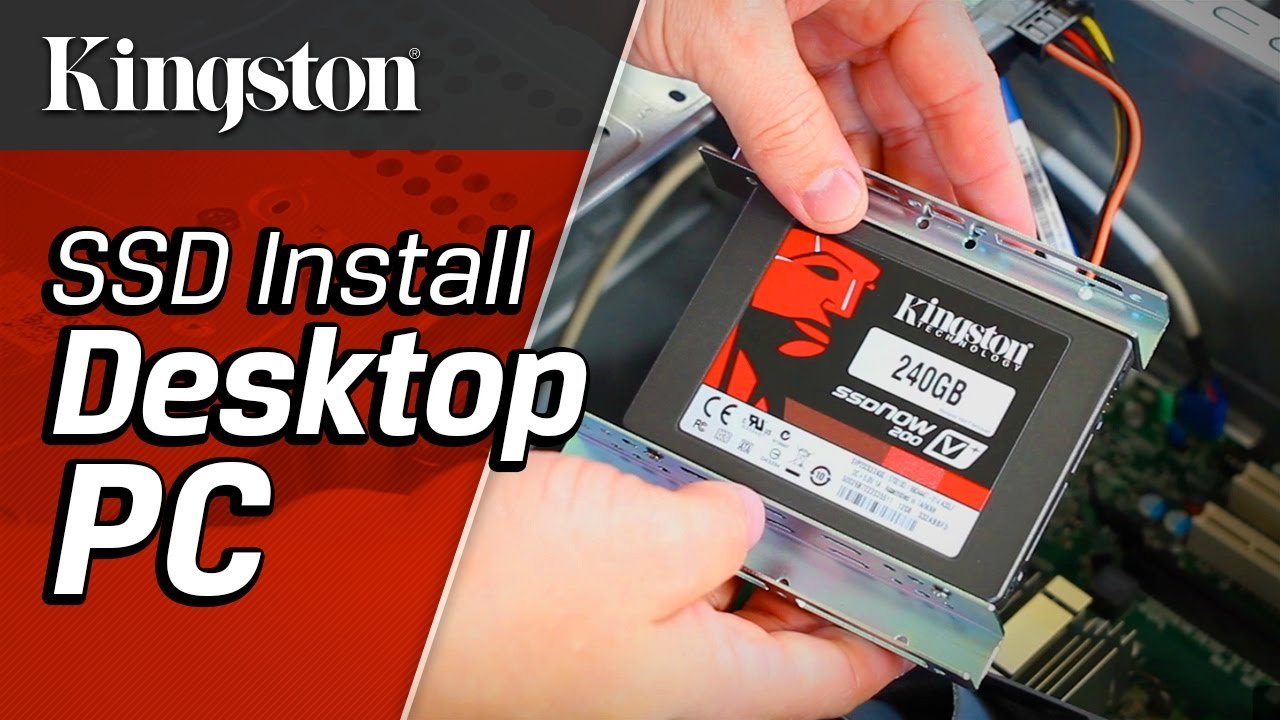
To install an SSD in a desktop, first, power down the computer and unplug it. Open the case, connect the SSD to the appropriate SATA port, and secure it in place.
Installing an SSD significantly improves your desktop’s performance. Solid State Drives offer faster boot times and quicker application launches compared to traditional hard drives. This upgrade enhances your overall computing experience, making tasks smoother and more efficient. Many users find that their systems feel more responsive and capable of handling demanding applications.
The installation process is straightforward, even for those with minimal technical skills. With just a few tools and steps, you can enjoy the benefits of increased speed and reliability. Embrace the upgrade and transform your desktop’s functionality today.
Credit: m.youtube.com
Introduction To Ssd Upgrades
Upgrading to a Solid State Drive (SSD) can transform your desktop. SSDs are faster and more reliable than traditional hard drives. This upgrade enhances performance and boosts productivity.
Many users notice a significant speed increase after installing an SSD. Boot times decrease, and applications load almost instantly. Understanding the benefits of SSDs helps you make informed choices.
Benefits Of Switching To Ssd
- Speed: SSDs provide faster read and write speeds.
- Durability: No moving parts make SSDs more resistant to damage.
- Energy Efficiency: SSDs consume less power than HDDs.
- Noise: SSDs operate silently, improving your working environment.
- Size: SSDs are often smaller and lighter than HDDs.
Comparing Ssd To Traditional Hdd
| Feature | SSD | HDD |
|---|---|---|
| Speed | Very Fast | Slow |
| Durability | High | Low |
| Power Consumption | Low | High |
| Noise Level | Silent | Can be Noisy |
| Size | Compact | Bulky |
Identifying Compatible Ssds
Choosing the right SSD is crucial for your desktop upgrade. Not all SSDs fit every desktop. Understanding compatibility helps you make the best choice.
Form Factors And Interfaces
SSDs come in various form factors and interfaces. Knowing these can help you choose the right one.
- Common Form Factors
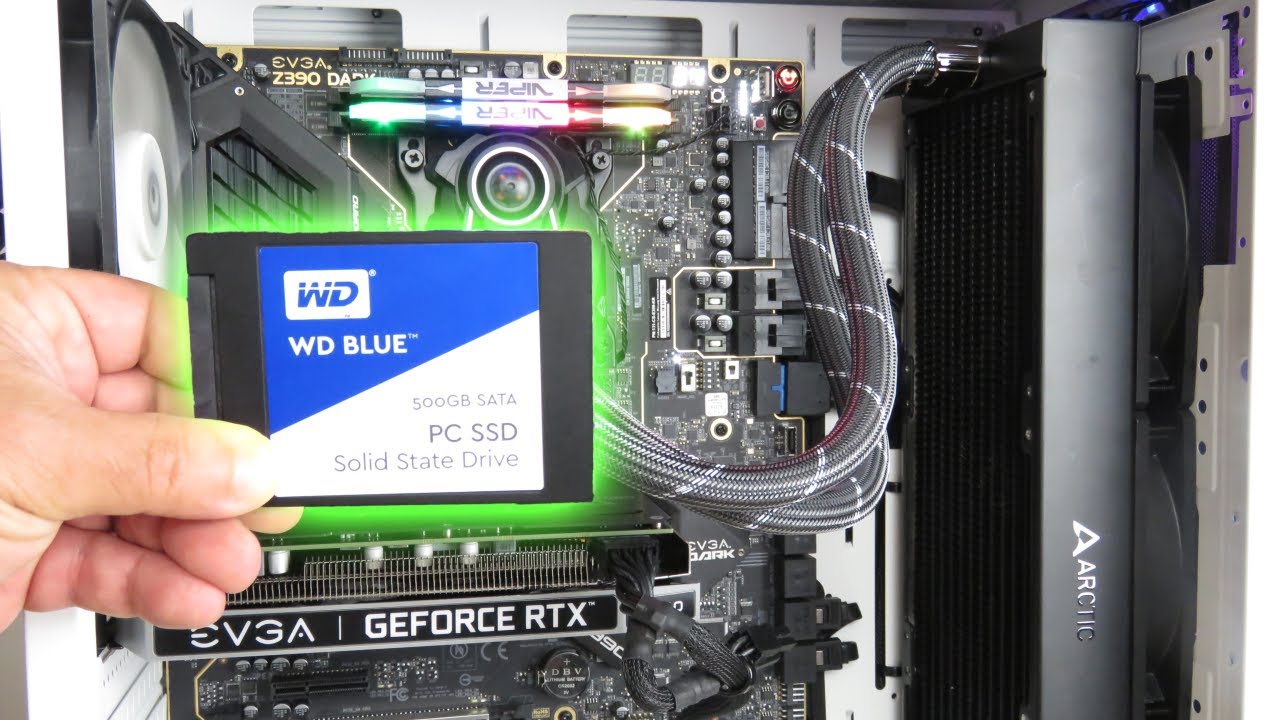
- 2.5-inch SSD: Fits most desktops.
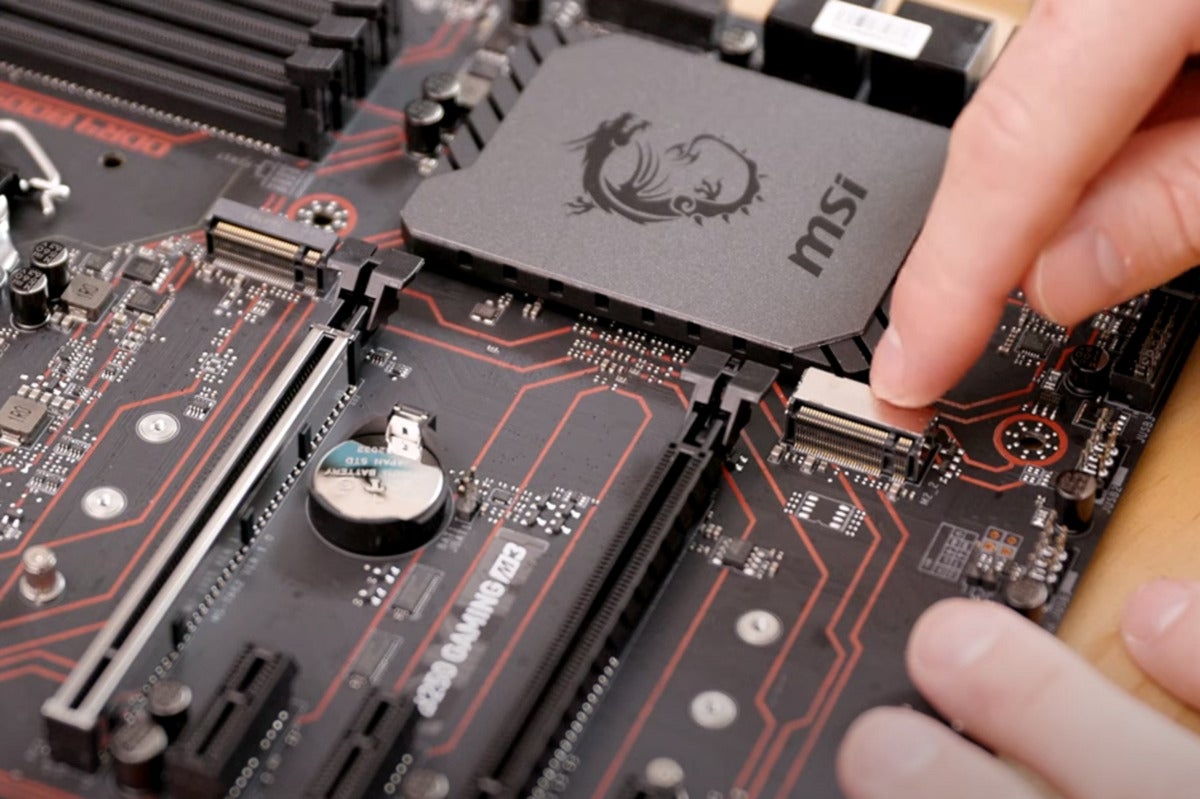
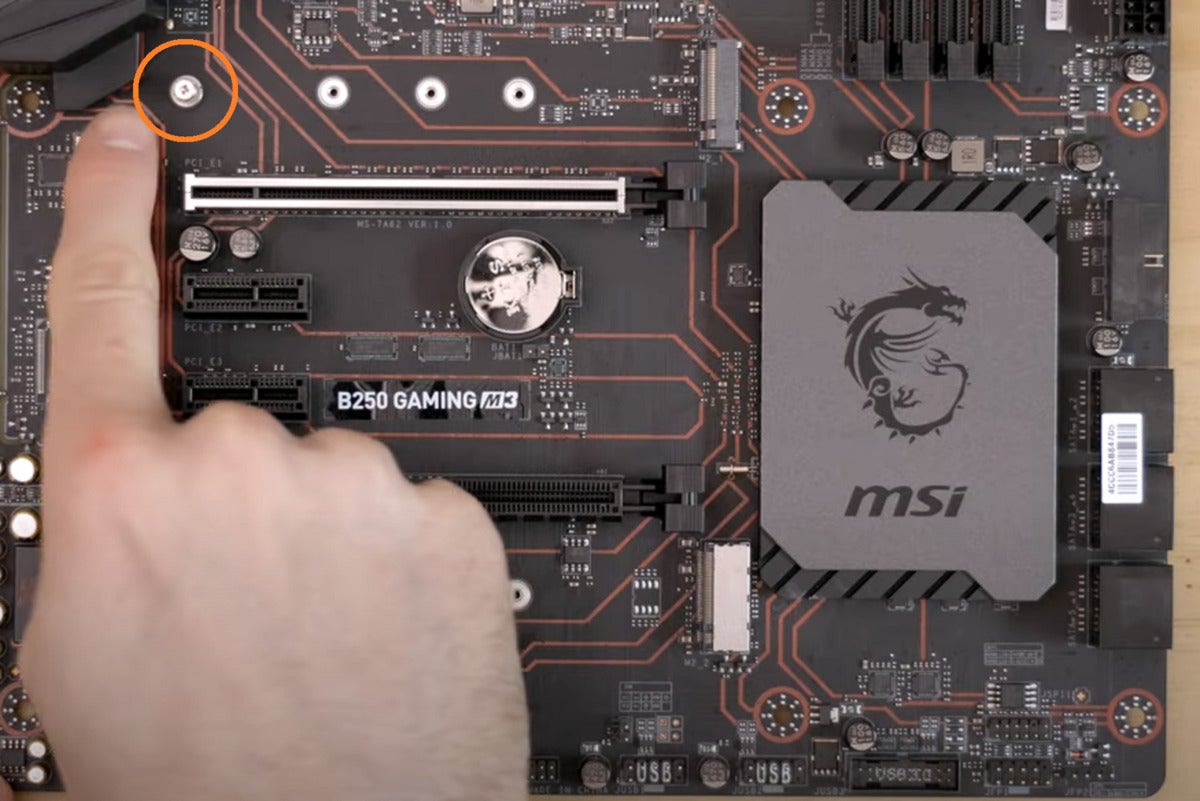
- M.2 SSD: Compact, fits directly on the motherboard.
- PCIe SSD: Plugs into PCIe slots for high speed.
Each form factor has specific requirements:
| Form Factor | Interface | Compatibility |
|---|---|---|
| 2.5-inch SSD | SATA III | Most desktops with SATA ports |
| M.2 SSD | SATA or NVMe | Motherboards with M.2 slots |
| PCIe SSD | PCIe 3.0/4.0 | Motherboards with PCIe slots |
Capacity And Performance Considerations
Consider the capacity and performance of the SSD. Choose based on your needs.
- Capacity Options:
- 120GB – Basic storage for OS and few apps.
- 500GB – Good for most users with games and software.
- 1TB or more – Ideal for heavy users with large files.
- Performance:
- Read Speed: Higher speeds mean faster access.
- Write Speed: Affects how quickly you save files.
Choose an SSD that meets your storage needs. Think about both capacity and speed.
Preparing For Installation
Before installing an SSD in your desktop, preparation is key. Proper preparation ensures a smooth installation process. Follow these steps to get ready.
Tools And Safety
Gather the right tools for the installation. Here’s a list of what you need:
- Screwdriver (usually Phillips head)
- Antistatic wrist strap (to prevent static damage)
- SATA cable (if not included with the SSD)
- Power cable (check if your PSU has spare cables)
Safety is important. Here are some tips:
- Turn off your desktop and unplug it.
- Wear an antistatic wrist strap.
- Work on a non-static surface.
Backing Up Your Data
Backing up your data is essential before you start. It protects your important files. Follow these steps to back up your data:
- Connect an external hard drive or use cloud storage.
- Copy your important files and folders.
- Verify that your files are safely backed up.
Consider using backup software for a complete system backup. This can save time and ensure all data is safe.
Removing The Old Drive
Removing the old drive is a crucial step before installing your new SSD. Follow these simple steps to ensure a smooth transition.
Unplugging The Right Cables
Before you begin, ensure your desktop is powered off. Unplugging the right cables helps avoid damage. Here’s how to do it:
- Locate the power cable connected to your hard drive.
- Carefully disconnect the power cable.
- Find the data cable (SATA) connected to the hard drive.
- Gently pull the SATA cable to disconnect it.
Make sure to handle all cables with care. This prevents any accidental damage.
Safely Handling The Hdd
After unplugging the cables, it’s time to remove the hard drive. Follow these steps:
- Locate the screws holding the hard drive in place.
- Use a screwdriver to remove the screws.
- Carefully slide the hard drive out of the bay.
Always hold the hard drive by its edges. Avoid touching the circuit board.
Here are some safety tips:
| Tip | Description |
|---|---|
| Use Antistatic Wrist Strap | Prevents static electricity damage. |
| Keep Workspace Clean | Avoid losing screws or small parts. |
| Handle with Care | Don’t drop or shake the drive. |
Once the old drive is out, you’re ready to install the new SSD. Ensure everything is clear and organized.
Installing The Ssd
Installing an SSD in your desktop boosts performance significantly. Follow these steps carefully for a smooth installation.
Securing The Ssd In The Bay
Locate the SSD bay in your desktop case. Most cases have a dedicated slot for SSDs. Here’s how to secure it:
- Take the SSD out of its packaging.
- Align the SSD with the mounting holes.
- Use screws to secure the SSD in place. Ensure it is tight but not overly forced.
Check that the SSD is firmly in place. A loose SSD may cause issues.
Connecting The Data And Power Cables
Next, connect the data and power cables to the SSD.
- Find the SATA data cable. Connect one end to the SSD.
- Connect the other end to the motherboard. Look for the SATA ports.
- Now, find the SATA power cable from the power supply.
- Connect it to the SSD. Ensure it fits snugly.
Double-check all connections. Proper connections ensure the SSD works correctly.
| Component | Description |
|---|---|
| SSD Bay | Dedicated space for securing the SSD |
| SATA Data Cable | Cable connecting SSD to the motherboard |
| SATA Power Cable | Cable providing power to the SSD |
Once everything is connected, close the case. Your SSD is ready for use!
Credit: www.pcworld.com
Setting Up The Operating System
After installing your SSD, the next step is setting up your operating system. This can involve either installing a fresh copy of Windows or cloning your existing system. Below are the steps for both methods.
Installing Or Cloning Windows
You can choose to install Windows from scratch or clone an existing installation.
- Fresh Install:
- Download the Windows Media Creation Tool.
- Use it to create a bootable USB drive.
- Insert the USB drive into your desktop.
- Boot from the USB drive.
- Follow the on-screen instructions to install Windows.
- Cloning:
- Use software like Macrium Reflect or Acronis True Image.
- Connect your old drive and the new SSD.
- Open the cloning software.
- Select the old drive as the source.
- Select the SSD as the destination.
- Start the cloning process.
Configuring Bios/uefi Settings
After installing or cloning Windows, configure your BIOS/UEFI settings.
- Restart your computer.
- Press the BIOS key (usually F2, Delete, or Esc).
- Locate the Boot menu.
- Set the SSD as the primary boot device.
- Save the changes and exit.
Your computer will now boot from the SSD. This ensures faster performance and quicker load times.
Final Steps And Maintenance
After installing your SSD, a few final steps ensure everything works smoothly. Proper maintenance helps your SSD perform well over time. Follow these guidelines for the best experience.
Double-checking The Installation
Before booting up your computer, it’s important to double-check your installation.
- Ensure all cables are securely connected.
- Verify the SSD is properly mounted in the drive bay.
- Check if the power connector is attached.
Once everything looks good, power on your desktop. Enter the BIOS setup to confirm the SSD is recognized.
Tips For Ssd Longevity And Performance
To keep your SSD running smoothly, follow these tips:
- Avoid full disk usage. Keep at least 10% free space.
- Update your firmware. Regular updates can improve performance.
- Enable TRIM support. This helps maintain speed over time.
- Avoid defragmentation. SSDs don’t need it and it can cause wear.
- Use a reliable power supply. This prevents sudden shutdowns.
By following these simple steps, you ensure your SSD lasts longer and performs better.
Credit: www.pcworld.com
Frequently Asked Questions
How Do I Install An Ssd In My Desktop?
Start by turning off your desktop and unplugging it. Open the case, locate the drive bay, and secure the SSD.
What Tools Do I Need To Install An Ssd?
You will need a screwdriver, SATA cables, and possibly mounting brackets for the SSD.
Can I Install An Ssd Alongside My Hdd?
Yes, you can install an SSD and HDD together for improved performance and additional storage space.
How Do I Clone My Old Drive To The Ssd?
Use cloning software to transfer data from your old drive to the SSD. Follow the software instructions for best results.
Will Installing An Ssd Improve My Desktop’s Speed?
Yes, an SSD significantly boosts boot times and application loading speeds compared to traditional HDDs. “`
Conclusion
Installing an SSD in your desktop can significantly boost performance. It enhances speed and responsiveness for various tasks. Following the steps outlined in this guide makes the process straightforward. Enjoy a faster computing experience by upgrading your storage today. Your desktop will thank you for the improved efficiency!