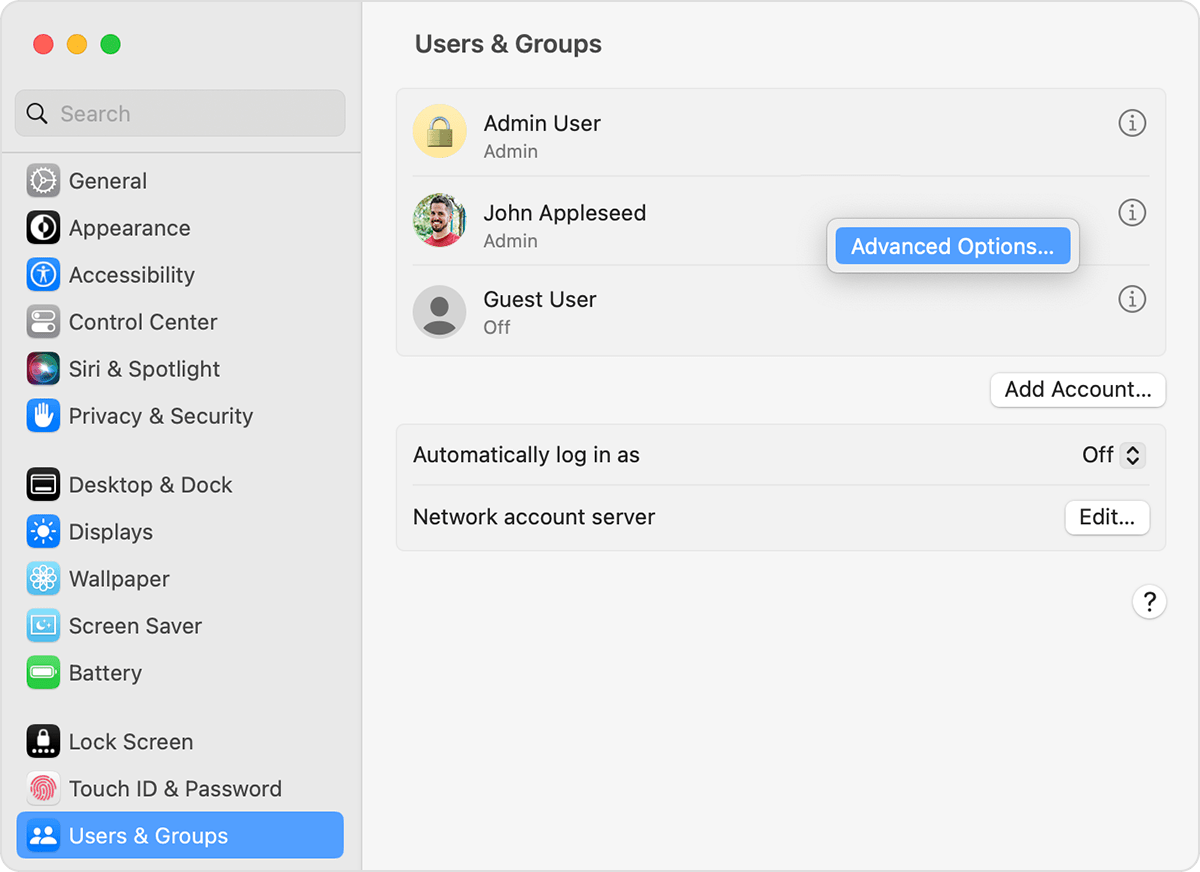
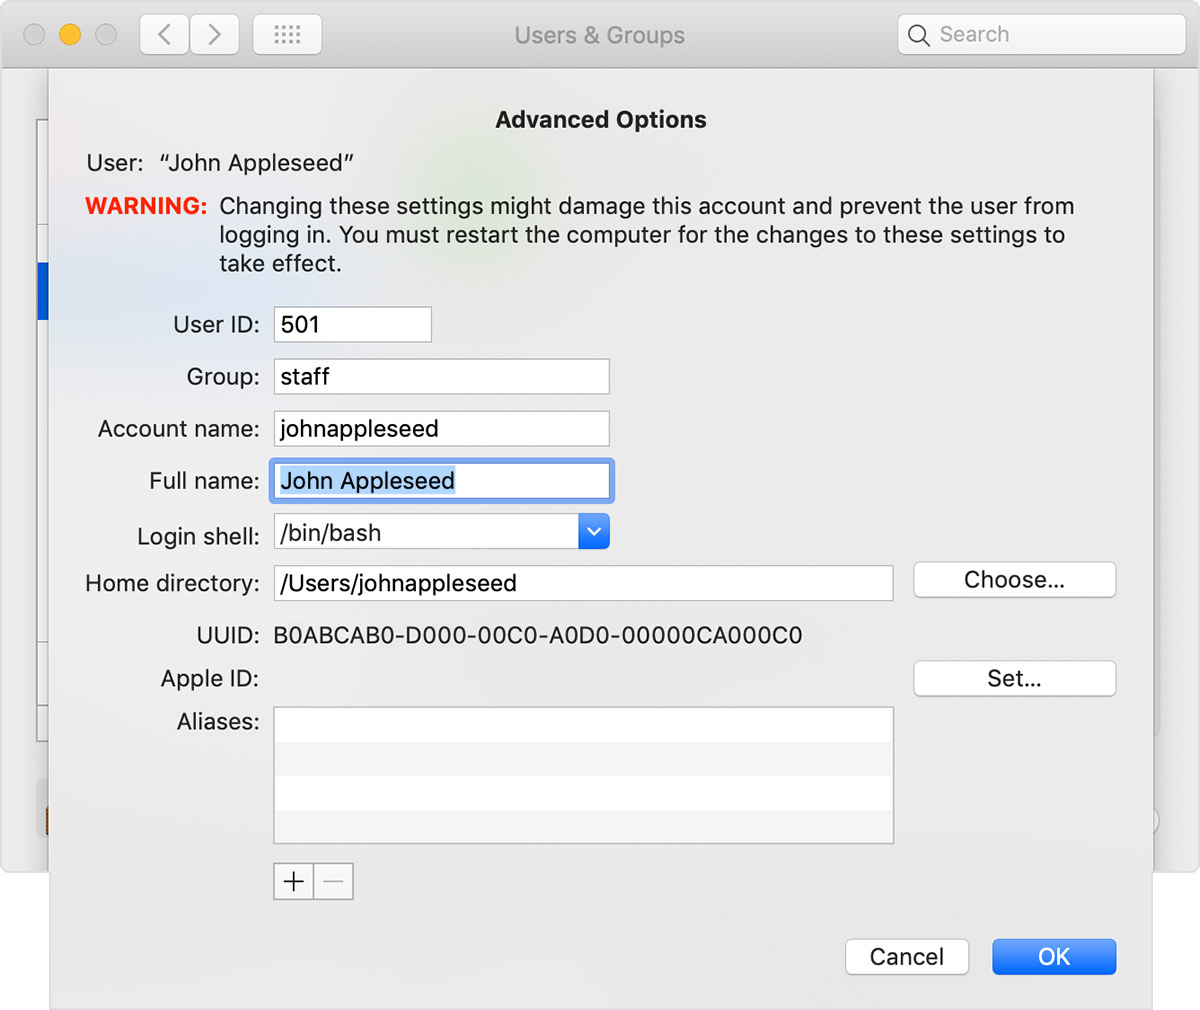
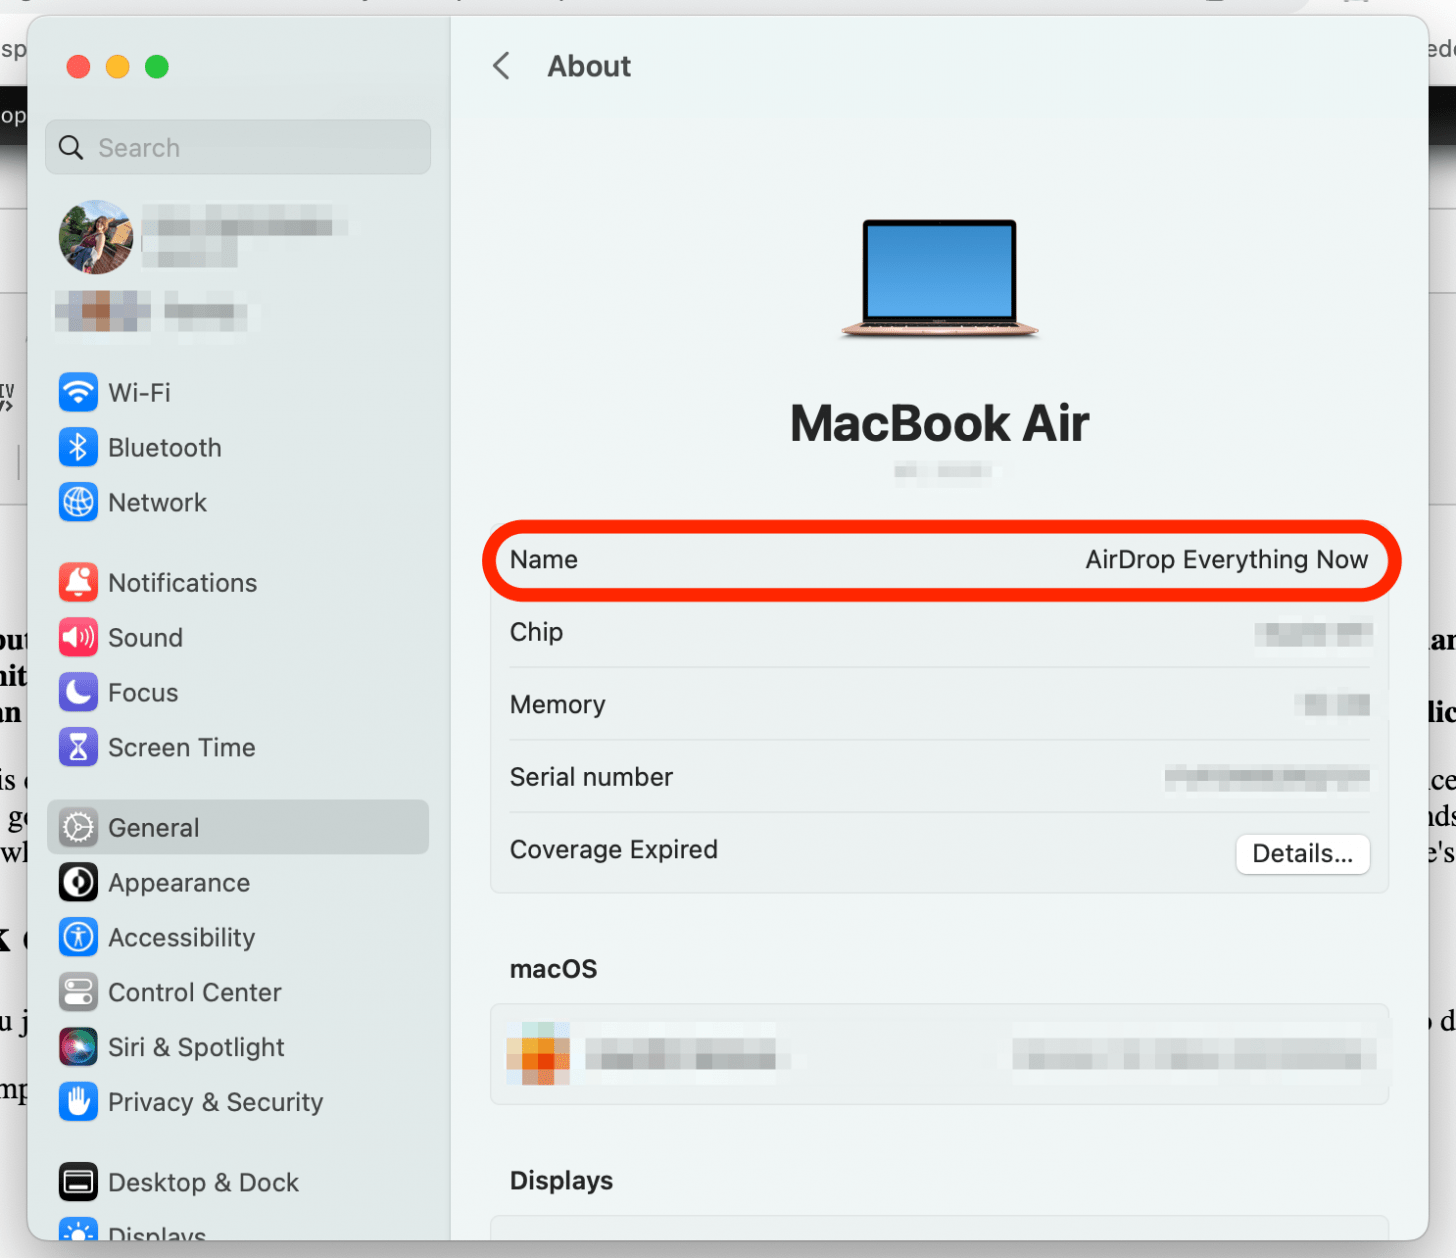
To change your MacBook name, go to System Preferences, then Sharing, and update the Computer Name field. Renaming your MacBook can make it easier to identify on networks and in shared environments.
Whether you use multiple Apple devices or share a network with others, a unique MacBook name helps avoid confusion. This simple change can streamline your workflow and enhance your device’s personalization. Apple provides an easy method within System Preferences to rename your MacBook, ensuring the process is quick and straightforward.
Updating your device’s name not only helps with identification but also adds a personal touch to your tech experience. Follow the steps to efficiently change your MacBook’s name and enjoy a more customized setup.

Credit: support.apple.com
Preparation Steps
Before you change your MacBook’s name, follow these preparation steps. Taking these steps ensures a smooth process and prevents data loss.
Backup Your Data
Always backup your data before making any changes to your MacBook. Backing up your data ensures that you won’t lose important files.
- Open Time Machine from your Applications folder.
- Select Backup Disk and choose your backup destination.
- Click Use Disk and follow the on-screen instructions.
If you prefer a manual backup:
- Connect an external drive to your MacBook.
- Drag and drop important folders to the external drive.
Ensure Software Updates
Before changing your MacBook’s name, ensure your software is up to date. Updated software can prevent compatibility issues.
- Click on the Apple Menu in the top-left corner.
- Select System Preferences and then Software Update.
- If updates are available, click Update Now.
These steps will help you avoid potential problems. Keeping your software updated also improves your MacBook’s performance.
Access System Preferences
Changing your MacBook’s name is simple. Start by accessing System Preferences. This is the first step to change your device name.
Open System Preferences
To open System Preferences, click on the Apple logo. This is located at the top-left corner of your screen.
Select System Preferences from the drop-down menu. A new window will open.
Navigate To Sharing
In the System Preferences window, find and click on Sharing.
This will open the Sharing settings where you can change your MacBook’s name.
| Step | Action |
|---|---|
| 1 | Click the Apple logo. |
| 2 | Select System Preferences. |
| 3 | Click Sharing. |
- Open System Preferences.
- Find and click Sharing.
- Click the Apple logo.
- Select System Preferences.
- Click Sharing.
In the Sharing settings, you can change your MacBook’s name. This is done by editing the Computer Name field.
Change Computer Name
Changing your MacBook’s name is simple and useful. It helps you identify your device on networks. This guide will show you how to change the computer name of your MacBook.
Locate Computer Name Field
First, open the Apple menu at the top-left corner. Select System Preferences from the drop-down menu. In the System Preferences window, click on Sharing. You will see your current computer name in the Computer Name field.
Enter New Name
Click on the Computer Name field to edit it. Type in your desired new name. Make sure it is unique and easy to remember. Press the Enter key or click outside the field to save the new name. Your MacBook’s name will update immediately.

Credit: www.youtube.com
Verify Changes
Once you’ve changed your MacBook’s name, it’s important to verify the changes. Ensuring the new name is updated everywhere helps avoid confusion. Follow the steps below to check the updated name on your MacBook.
Check System Information
First, you need to check your system information. This confirms that your MacBook’s name has been updated correctly. Follow these steps:
- Click the Apple logo in the top-left corner of your screen.
- Select About This Mac from the dropdown menu.
- Click System Report.
- In the System Information window, look for the Hardware Overview section.
- Your updated MacBook name should appear next to Computer Name.
If you see the new name here, your change was successful. If not, double-check the steps you followed to rename your MacBook.
Restart Your Mac
Restarting your Mac can help apply the changes. This ensures the new name is displayed everywhere. Follow these steps:
- Click the Apple logo in the top-left corner of your screen.
- Select Restart from the dropdown menu.
- Wait for your MacBook to restart.
After restarting, check your system information again to confirm the new name. If it’s still not updated, you might need to rename your MacBook again.
By following these steps, you can ensure your new MacBook name is correctly updated and displayed.
Troubleshooting
Changing your MacBook name can sometimes be tricky. You may face several challenges. This section will help you solve common issues. If you still have problems, you can contact support.
Common Issues
There are a few common issues you might encounter. Here are some steps to fix them.
- System Preferences not responding: Restart your MacBook. Then, try again.
- Name not saving: Ensure you click on the ‘Lock’ icon after changing the name.
- Permissions error: Check if you have administrative rights.
If these steps don’t work, try resetting your NVRAM. Follow these steps:
- Shut down your MacBook.
- Turn it on and immediately press and hold Option, Command, P, and R keys.
- Hold these keys for about 20 seconds.
- Your MacBook will restart. Now, try changing the name again.
Contact Support
If you still face issues, contact Apple Support. They can assist you further. You can reach them via phone, chat, or visit an Apple Store.
| Contact Method | Details |
|---|---|
| Phone | 1-800-MY-APPLE |
| Chat | Apple Support Chat |
| Store | Visit your nearest Apple Store |
Make sure you have your MacBook serial number ready. This will help them assist you faster.

Credit: support.apple.com
Final Steps
Congratulations on changing your MacBook’s name! The last steps ensure everything runs smoothly. These steps will make sure your new name is recognized everywhere.
Update Network Devices
After renaming your MacBook, update the name on all network devices. This includes your router, printer, and other devices. They must recognize your MacBook’s new name. Here’s how:
- Log in to your router’s settings.
- Find the list of connected devices.
- Locate your MacBook and update its name.
- Restart your router for changes to take effect.
Do the same for other network devices like printers. Check their manuals if needed.
Inform Connected Services
Inform all connected services about your MacBook’s new name. Services like iCloud, Find My Mac, and others. Here’s a quick checklist:
- Open System Preferences on your MacBook.
- Go to iCloud settings and ensure your MacBook is listed correctly.
- Check your Find My Mac settings.
- Update any third-party apps that use your MacBook’s name.
These steps help keep everything in sync. Your MacBook’s new name will be recognized everywhere.
Frequently Asked Questions
How Do I Rename My Macbook?
Go to System Preferences, click on Sharing, and change the computer name.
Can I Change My Macbook’s Name Anytime?
Yes, you can change your MacBook’s name anytime through System Preferences.
Does Changing Macbook Name Affect Anything?
Changing your MacBook’s name does not affect your files or settings.
Where Is The Sharing Option On Macbook?
Find the Sharing option in System Preferences under the Apple menu.
Is It Safe To Rename My Macbook?
Yes, it is completely safe to rename your MacBook.
Conclusion
Changing your MacBook’s name is a simple process that enhances personalization. Follow the steps mentioned to update it easily. This quick customization helps in identifying your device in networks. Keep your MacBook unique and recognizable. Enjoy a more personalized experience with your newly named MacBook.
